Quilt for a special little girl

Standard

Amélie has a friend about six months older than she is. She is such a special little girl, and she turned two recently, so I thought I would attempt my first quilt in her honour!

Image

It’s super simple, and mini, so it was perfect for me 🙂

Image

I got the idea from a book called “All Sewn Up”, by a British girl called Chloe Owens.

I raided my fabric stash and used up some off cuts from previous projects that had failed, vintage sheets, and material that I had bought ‘just in case’ for ‘something’ I was going to make, but never used…

Image

I like it because the rainbow and clouds motif is a bit different from the usual quilt design.

Image

I hope she likes it!

Jacket for a Baby

Standard

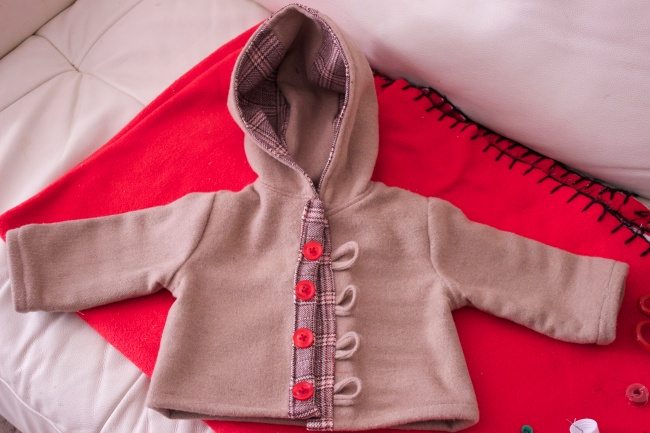
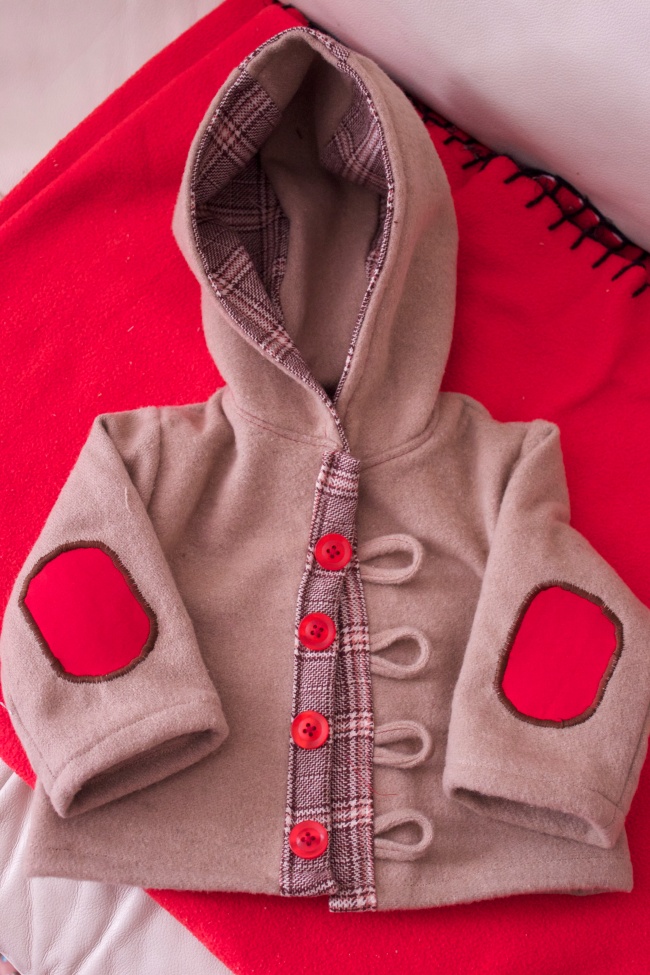
One of my friends is having a baby, and I really wanted to make her little boy a jacket!

We went shopping so she could choose the fabric, and after that, I went a bit nuts!

Image

Her baby shower is in a month, so I thought I would have plenty of time to finish it slowly, you know, get a bit done each day?

I finished it in 48hrs… while I was meant to be studying for my final exam, which is in a week. Hmmm….

I was just so excited to make it!!

Image

I thought I would try to give simple instructions as to how to make one, because as someone self-taught, I found the sewing language and copious instructions… discouraging.

Image

Anyway, if you want to make one, here is a tutorial.

If you don’t have a pattern, you can use an existing jacket your child fits/ will fit, or a long sleeve shirt with about 3cm added all around for seam allowance/ wearing clothing underneath allowance.

You need:

– Outer fabric

– lining fabric

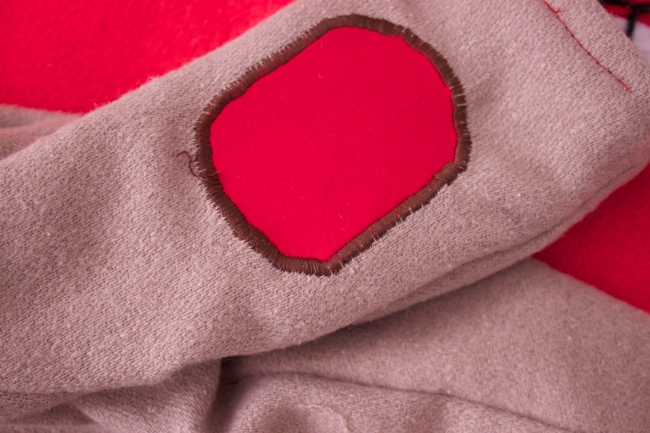
– ‘pop’ fabric (tiny bit for elbow patches and 4 buttons in the same colour)

– matching thread

I bought 3/4 metre of both outer or inner fabric, but I think I had about twice as much as I needed.

First, trace your jacket/shirt/cut out the pattern you have.

If you are tracing an existing piece, you will need:

– 2 front pieces (they will be joined by buttons) (both lining and outer fabric)

– one back piece (both lining and outer fabric)

– hood pieces (trace an existing hood on a different item if yours doesn’t have one, but make sure the length of the bottom of your hood matches with the length of your neckline.)

Then, sew the shoulder seams of your outer fabric together, right sides facing in. Repeat for lining.

Sew hood pieces together, right sides facing, repeat for lining.

Image

Sew lining of hood and outer hood together around the top, right sides facing. Turn and iron. Then topstitch down so the fabric stays together. A topstitch isn’t necessary to hold the hood together, but it will prevent poofiness (technical term).

Image

Sew sides and sleeves together, right sides facing, of both lining and outer.

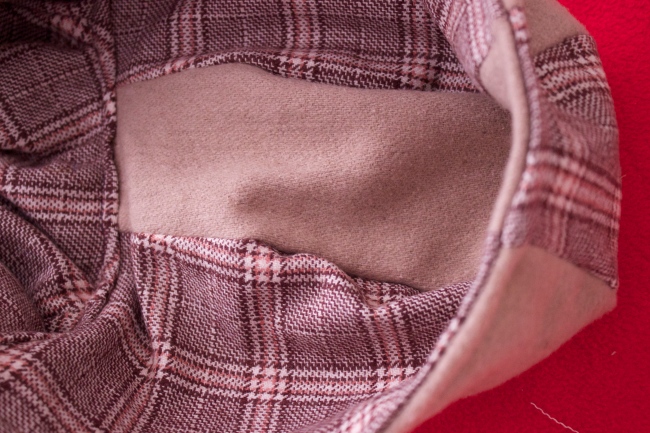
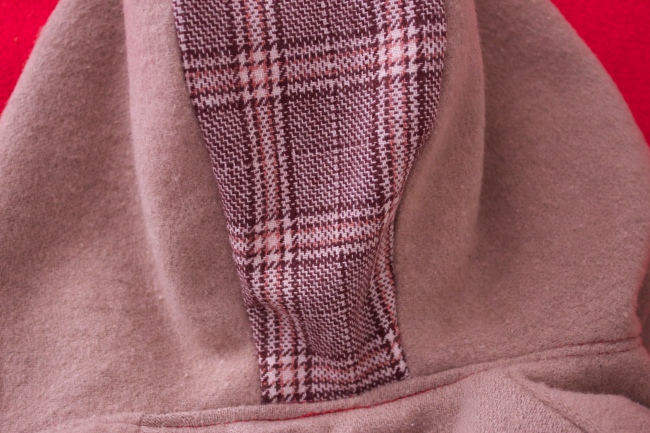
Now, trickiest bit (not very tricky!) Sew base of hood shut (i.e., inner and outer lining together just as is, not inside out.) Then, sew hood to outer jacket (right sides together.)

Then, get your lining (which should look like a jacket too now) and sew to hood and outer jacket, facing the right sides together, with the sewn hood sandwiched in between.

Fold lining down and iron, then topstitch it down.

Image

After that (you are nearly done!) sew bottom lining and outer together, overlocker and hem.

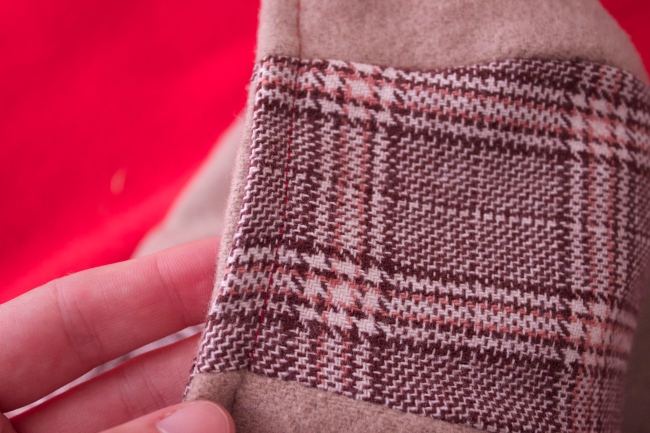
Turn the cuffs up and sew through lining and outer to hem.

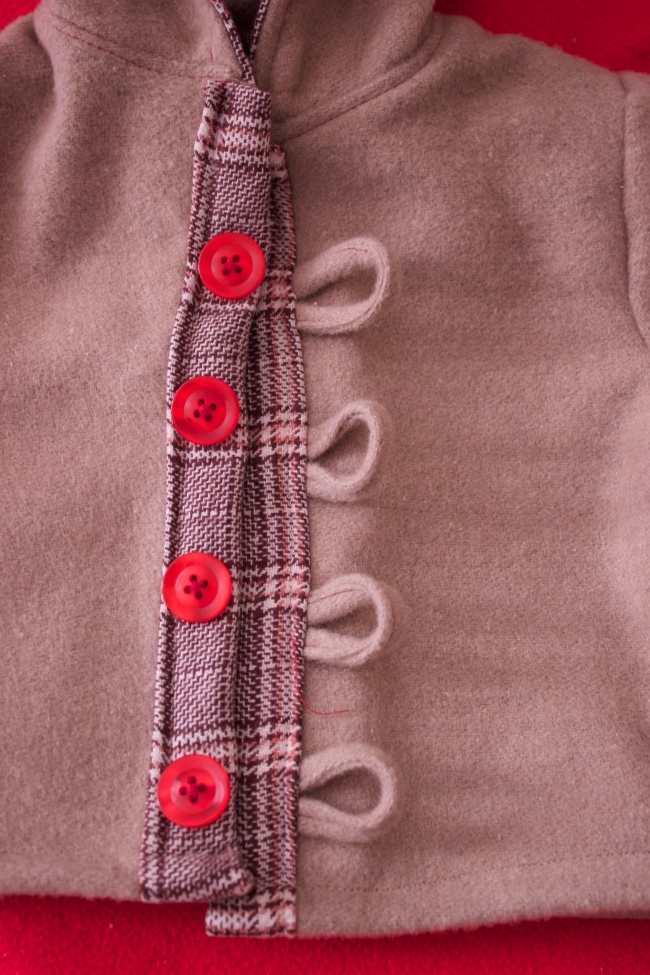
Cut one rectangle of outer fabric 2.5cm wide and 40cm long. These will make your loops.

Fold rectangle in half and press. Then open, and fold both edges towards the centre and iron again, then fold in half and iron again!! You should have one skinny strip of fabric about 5mm or so wide. Stitch this closed and cut into four equal lengths.

Space evenly down the front of the jacket and sew down.

Image

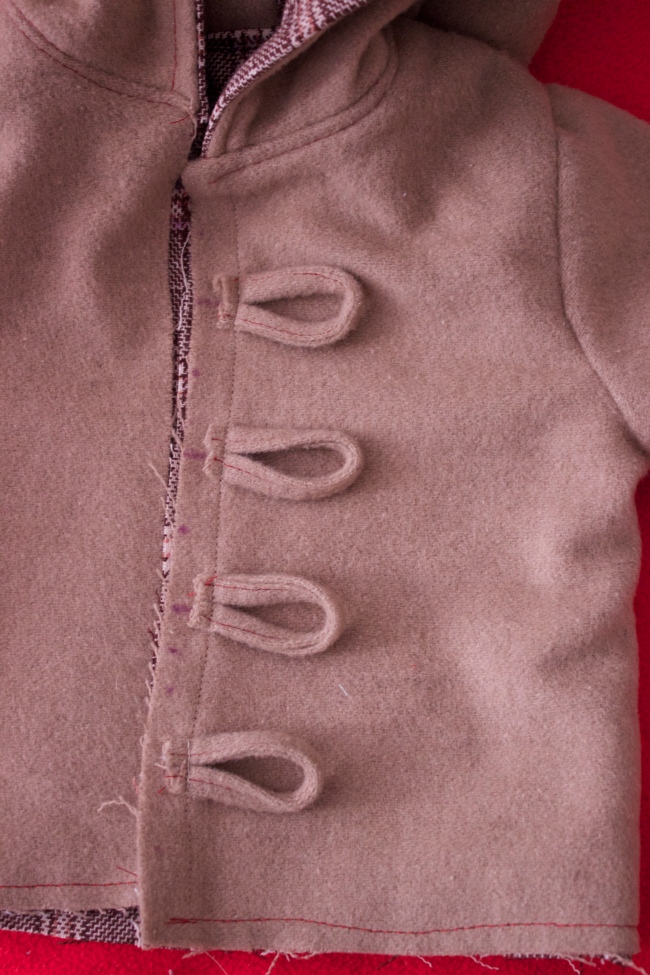
Cut a 2 rectangular panels of lining fabric a bit longer than the body of your jacket, and about 8-10cm wide.

Iron a crease about 1cm from one of the long edges of the panel. Put right sides together over loops and sew, THEN fold on the crease and topstitch down (does that make sense, you are effectively ‘hiding’ your loops, stitches and the raw edge of the fabric).

Fold over the raw edge of the jacket and sew down.

Do the same with the other side.

Sew your buttons on!!

Image

Image

Happiness

Standard

I was watching a documentary on happiness.

It was amazing!

This was their illustration of the components that make up happiness:Image

Surprising hey?

40% of your happiness depends on intentional activities you choose to do.

They found one of the best forms of intentional activity that people could use to increase happiness was something called ‘flow’.

Flow is the feeling you get when you lose yourself in an activity, like art, running, music, gardening etc.

Psychologists in the program also found that happiness is not increased by extrinsic goals:

– gaining money

– image and looking good

– status and approval from others

These actually increased dissatisfaction and anxiety.

What increases happiness are intrinsic goals:

– personal growth (learn the guitar, practice rock climbing, doing something that is really ‘you’.)

– forming good and close relationships

– desire to help and make the world a better place

As I head into what has the potential to be an unhappy time, I want to be able to feel that happiness is not just a feeling, but something I can purposefully cultivate.

(The documentary is called ‘Happy’ directed by Roko Belic, it’s on iview at the moment.)

A Year of Firsts

Standard

No, I’m not talking about my daughter, although she is extremely cute:

Image

I’m talking about a year of SEWING firsts!

I started sewing about a year ago, six months after Amélie was born.

I have to say, I have done a LOT of sewing since then!

I love it, and today I thought I would share five projects that were firsts for me.

The first one you can see above, an appliqué owl. Loved the result, but it’s layers of fabric are too heavy for a t-shirt. Next time I would make a stuffed toy or cushion.

Image

First pyjama pants for Amélie. With matching ones for me of course (Am I a little bit lame?)

Image

Corduroy pants with woodland appliqué. Appliqué has been a big deal for me- I love putting shapes on things!

These pants gave me a headache though, they were too small for my beautiful daughter’s massive baby thighs and needed altering about three times.

I like how the stretchy waistband turned out though, if Amélie could talk I think she would say she was comfy in it 🙂

Image

Fourthly, underwear.

Never thought I could make my own underwear, but now I’ve made lots, and it’s easy!

Don’t worry I won’t show you! But here are some training pants I made for Amélie to wear when she starts toilet training. They have terry cloth on the inside and PUL on the outside so she feels wet but my carpeted apartment doesn’t!

Image

I tried them on her, and in the 20 seconds they were on her butt, she wet them…

Image

And lastly, altering pants. I never knew I could take something that didn’t fit and make them fit. Here is one example, which nearly killed me.

Image

I couldn’t find a tutorial (I usually get most of my how to from Dana at Made and Jess at Craftiness is Not Optional) so I winged it, and I can’t explain it, but for some reason it was really difficult.

I know, it looks simple, but I couldn’t manage it. I had to unpick seams at least five times because it was just. so. wrong.

Oh well, now I know, you have to unpick some of the pants seams, not just cut the pants off at the knees and expect to be able to sew new fabric into them!

Hopefully there is another year of firsts ahead!

Preparing for an HG Pregnancy

Standard

A lot of the literature and commentary on the internet focuses on the negatives of HG.

That’s understandable, there aren’t really any positives.

However, as a person considering a second pregnancy, with a high likelihood of HG, I want to try and focus on the positives.

Like my attitude.

Did you know that just 10% of your happiness depends on circumstance?

Like preparing as best I can.

SO… how can you prepare for an HG pregnancy.

I started by making a list…

Image

One of the first items I ticked off was washing all of our baby clothes that Amélie had worn as a newborn, so I would be prepared if the baby was a girl.

This is what my washing lines on our balcony looked like!

Image

I’ve also returned all our library books (last time I racked up fines because I was too sick to return our books),

talked with my doctor about this clinical trial, and got a prescription for maxolon (to take as soon as I get a positive test),

bought a new pram,

and made sure Amélie has clothes that will fit until the end of my pregnancy so I don’t have to buy any.

Oh yeah, and I bought some pregnancy tests!

Wish me luck as I continue to trawl through my list (and hope I actually get pregnant!)

Crafty Tails:

Standard

Have you ever got the feeling your child isn’t human?

Amélie went through a growling stage, and I swear she sounded like a rabbid dog. A cute one of course.

We also regularly call her Améliesaurus, because when she was a newborn she made squeals like (I imagine) velociraptors made.

Anyway.

I thought I would make her a dinosaur tail.

Image

It was super easy and I attached it to her existing pants by unpicking the back seam and sewing it in, that way I didn’t have to dither around with elastic. Want to make one?

Supplies:

Fusible interfacing (I used heavy-weight)

two different types of fabric

Baking paper for pattern

Method:

1. Sketch out a tail on some baking paper, then add about 1cm all around seam allowance

2. Sketch (or measure if easier) about five triangles in decreasing sizes and add about .5cm seam allowance

3. Cut interfacing roughly larger than pattern pieces and iron on

4. Cut out pattern pieces (remembering to cut 2 of every piece!)

5. Sew all triangles and clip inside points to make turning easier

6. Sandwich all triangles between tail fabric and pin

7. Sew tail up and turn right side out

8. Unpick back seam of pants and sew it! (And when they grow out of the pants, you can unpick the seam again and reuse the tail in a second pair of pants!)

About:

Standard

Hi, I’m Jen.

Image

I know, you’re thinking “Wow! She’s advanced!” But I’m the one on the LEFT.

The one on the right is my beautiful daughter Amélie. I had HG with her. It was difficult, but it made her extra special when she was finally born. Here’s a close up: Image

I also have a lovely husband. His name is Jon.

This blog is my place to share my crafty creations, and musings on life.